Home Improvements
Just the sound of the words ‘home improvements’ makes me cringe. I hate, hate! embarking upon projects around my house. Yes I agree, hate is a very strong word. So let me clarify by saying it just one more time: I HATE it! But try as we might to ignore the maintenance and general upgrades required of home ownership (by locking the door, getting in the van and driving off to the boulders for the weekend), things eventually pile up and are more effort to ignore than to just stop life and fix. Things like a clogged shower drain that hasn’t worked for over a year, a washing machine that floods the laundry room every time poopy diapers are being cleaned, or how about tripping circuit breakers and melting outlets anytime I run the hairdryer and forget to turn off the space heater or window AC unit…of which are being used in lieu of actual central air/heat in our home because the unit that was here when we moved in 10 years ago never really worked quite right and we shut it off permanently 5 years ago. Alas, it was time to buckle down and be responsible home owners. And perhaps Paul getting surgery on his finger and not being able to climb all summer gently persuaded us to this conclusion…perhaps. 😉
March of this year is when we officially began. We started by getting our septic tank pumped. One, it hadn’t been pumped since we moved in, so it was probably due. And two, we thought this would be a good way to rule out a backup problem linking the shower and washing machine drainage problems.

Tank pumped: check! Big hole to fill.
With verification that the tank and main line were working properly, we then moved on to the washing machine….cause well, laundry was piling up. After much probing and digging, we learned that our washing machine was connected to a grey water tank out in the backyard next to the woody where the mystery “candycane vent” is (we’d always wondered what the heck the candycane was for!). Turns out said tank was full (or the outlet clogged, if there is one) and was thus causing the backup when trying to do long loads of laundry…like the 2 hour 20 min sanitize cycle for washing poopy diapers. So we called in our trusty plumber Darrell, who totally rocks, and had him connect the washing machine to the main line headed to the septic tank, but leave the option to switch the washing machine drainage to the grey water tank in the event that someday Paul and I grab a couple of shovels and a few six-packs of beer and get motivated to dig up the grey water tank to fix the clog and/or provide drainage from the tank to our backyard trees.

Washing machine working again: check! Old line is the one that angles right, new one to the left. Switching back to the grey water tank requires just moving the washing machine hose from one tube to the other
View from the back of the laundry room where the connection of the new washing machine drain line to the main septic line is now. Another hole to fill (actual connection is under the dirt. I snapped this photo after we had started burying it)
Now that we were already writing Darrell a big fat check, we figured we might was well fatten it up some more by having him resolve the guest house shower drainage problem once and for all. The guest house shower just might be the all-time-number-one mystery to this old house (and we’ve had a hefty handful of mysteries here lemme tell ya). If you’ve stayed the night and showered here at all in the last 12 months, you know the deal. If it’s your first shower of your stay you have a good 8-10 minutes of proper drainage and then the drain starts to slowly back up. If you try to shower the next morning it backs up sooner. And on the next day’s shower, even sooner. Until it finally gets to the point that it backs up immediately and doesn’t drain at all and you need to come shower in the main house.
We had tried to snake it to no avail, the line had too many tight turns. Darrell had also tried to snake it on a previous visit, bringing along his fancy twirling power snake. Now here is where the mystery starts. On one attempt, having gotten past all the tight turns, Darrell ran out 100 feet of his snake. I’m not even kidding, 100 FEET – I stood there and watched his 100-foot reel wind down to the bare hub. And, the drain was still clogged. ??? Myself, Paul, Darrell, and many a guest house vacationer have tried to theorize every possibility as to where the shower drain could possibly head to.
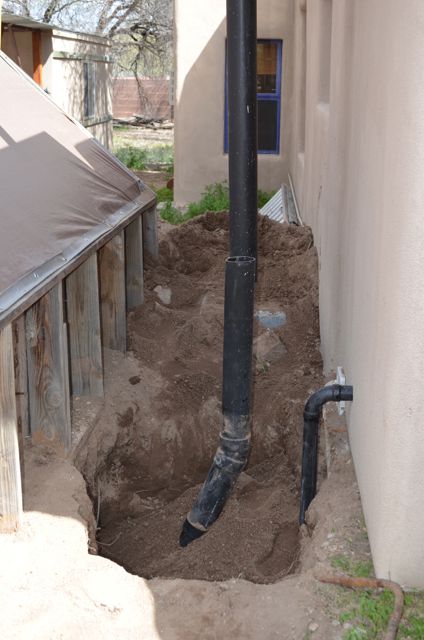
So fast-forward to present day with big check in hand. We’ve all concluded that we have no choice but to abandon the mystery drain’s location and just run a new line from the bottom of the drain to the main line. Darrell uses his fancy camera and locates the main line to be running right under the laundry room floor, which is great news because it enables him tap into the bottom of the guest house shower drain from under the other side of the wall, thus avoiding jackhammering up the bathroom floor to get to the drain as well as jackhammering the patio or pulling up the courtyard bricks to get to the main line. We really lucked out here. He does the fix and the guest house shower is back up and running.

Guest house shower working again: check! This is where Darrell went under the laundry room/guest house wall to connect the guest house shower drain to the main line. The main line at the far bottom of the photo, near the edge of the hole, partially buried, running left-right. And low and behold, see that small pipe running perpendicular and above the main line? THAT’s the guest house shower mystery drain! It’s trajectory is headed straight for our pool! 100 feet in that direction would put it on our neighbor’s property so who the heck knows where it really goes. Still a mystery. And now an abandoned cold case since it’s no longer in use.
Next on the hit list, heat and air conditioning for our house. Although the adobe walls are stellar in regulating the temperature of the house, there are 3 months in the summer when it’s just too dang hot and we need some form of AC. And most winters there’s usually about a month, maybe 2, where we need heat….at least in the evening hours. Since we had already deemed this the summer of home improvements, we figured we might as well go ahead and get this done too.
It was no surprise when this venture opened up a whole new fresh bucket of worms. Upon removal of the old heater/AC unit and closer inspection of the ductwork, it was realized that there WAS NO ductwork from the inside of the roof to the interior registers, just a cobbed-up mess of crumbling plywood that was arranged in what was probably once supposed to be a duct-work-type-manner between the ceiling and roof. Which basically means that back when the old unit actually was working, it was heating/cooling the vacant space between the ceiling and roof (the space is vacant because there is no insulation – a whole ‘notha project for a ‘notha day….like, when we need a new roof).
So new ductwork obviously needed too. Open checkbook again and increase amount of big fat check I’m already writing to the heater/AC dudes.

Bye bye, you piece of junk

New ductwork

and new thermostat. Heater/AC: check!
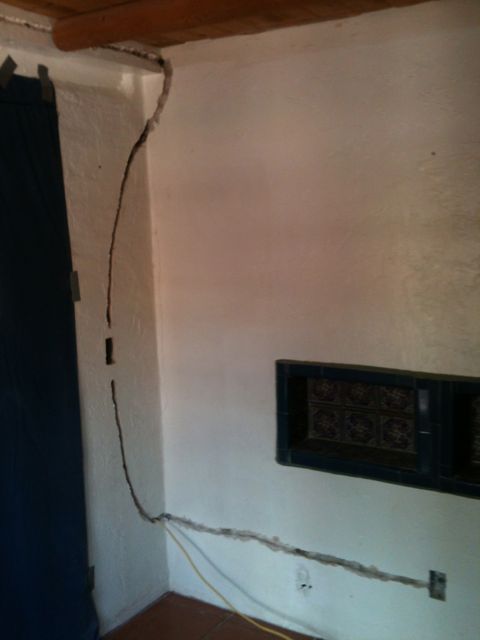
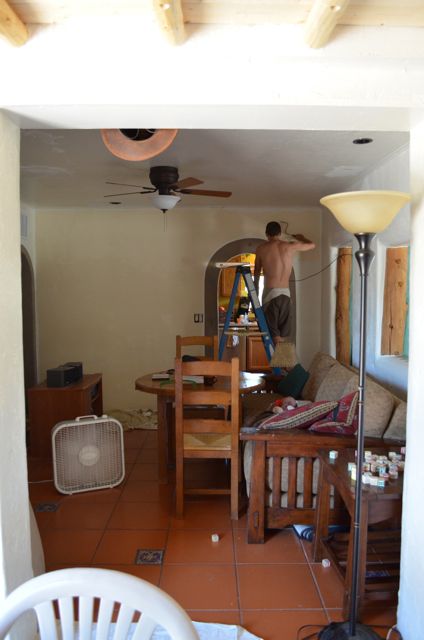
During the time the heater/AC guys had the ceiling open to install the new ductwork, Paul and I thought it smart to pop our heads up in there and look around to see what the wiring was like – it’s condition, where it was routed to, and ultimately the reason why we were tripping circuit breakers. After many days of diagnostics, we learned that just about the entire house was running off of one 15amp circuit breaker. That would explain it! We also learned that the new-ish main circuit panel that the previous owner had installed was more than adequate for the house, with plenty of extra unused breakers, and that all new wiring had already been run from the panel to the tops of the interior walls. So the only old wiring that remained was in the walls themselves (“old” dating to pre-1941. We have no idea how old this house is, just that it’s as least as old as 1941 because we have a map dated 1941 that has our structure on it). So with a variety of holes now in the ceiling and an ugly channel in the wall thanks to the new heater/AC work we figured, what’s a few more? We have to patch and paint anyway?
And so,….we went for it. We replaced all the old wiring in the house. Doing this, we were not only able to better distribute the load to prevent breakers from tripping, but we were also able to move outlets to where they should be (like, down near the floor instead of in the middle of the wall!), fix outlets that the adobe had crumbled around due to years of use, add wall switches to overhead lighting that previously required one to reach up to pull a cord, or down to the floor to a thumb wheel, add some additional lighting to the dark main living room and get rid of that hideously gaudy southwest-motif over-sized ceiling fan.
And for good measure, we also replaced the kid’s room ceiling fan with a simple overhead light so they wouldn’t get their head taken off while on the top bunk.

Embarking upon re-wiring our house. Darrell our plumber has a phrase he uses often when here at our house shaking his head over something poorly built or designed: “Well, given how old this house is, it’s highly likely a bunch of cowboys built it. And cowboys are good at one thing and one thing only: being cowboys. Not building houses.” Yes, what you’re seeing in this photo is an outlet that had been installed IN THE CHIMNEY! Needless to say we abandoned and removed it, as well as moved the outlet on the main wall down near the floor where it should be.
Another outlet now properly wired and located and new wiring to wall sconce.

The other side of the wall where the channels were made to run new wire.
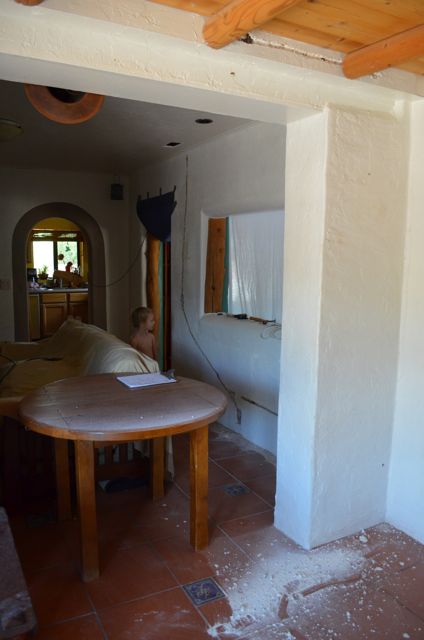
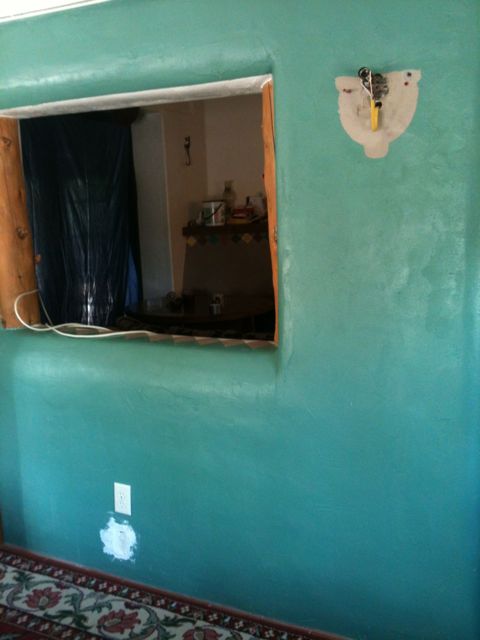
Oh my, what have we gotten ourselves into. At this point there are also holes in the ceilings and channels in the walls of the bathroom, kitchen and our bedroom too that I neglected to take photos of. The house is a MESS!
And finally, since we had already bitten off more than we could chew we decided to stuff just one more tasty morsel in. The dining room ceiling. We have despised the dining room ceiling since we bought the place. For one, whomever had put it up failed to properly measure and/or cut the vigas and boards because nothing fit. There were gaps around the entire perimeter of the ceiling. Second, the vigas must have been tacked up with kindergarten paste because they were falling down and ready to kill someone. And third, the light fixture was just a lamp hung from one of said tacked-on vigas with a long eye-sore of a cord that ran across the ceiling, down the wall and plugged into an outlet – it would be nice to have a proper light with a switch on the wall. So we tore the whole thing down and re-built it.
Oh wait, there’s one more thing! We’ve always wanted proper pool patio tunes. While doing the dining room we also teetered for a day on whether or not to run speaker wires through the ceiling, since we were going to have the whole thing torn apart. In the end we opted for purchasing a Bose Sound Touch. No wires and we could just manually move the ‘box’ from inside to out. We installed an outlet up high just outside the dining room door and will build a small permanent shelf to put the box on. This was an easy and cheap solution.

Tearing down the dining room ceiling
Re-wiring and adding a wall-switch

Dining room ceiling wired. Now putting it back up.

Vigas cut to proper length

No gaps!

All patched up and ready to go. This wall also had an outlet smack dab in the middle of it that we removed.
Patchwork done, now time to re-paint….EVERYTHING! When re-painting the hallway where the new heater/AC ductwork was installed, we accidentally grabbed the wrong ‘white’ from the paint shed. We decided we liked this off-white better anyway and left it. What we didn’t realize was that the entire main living room area and dining room and all the ceilings were also the same white that had been used in the hallway. So in the end we really did have to re-paint EVERYTHING!
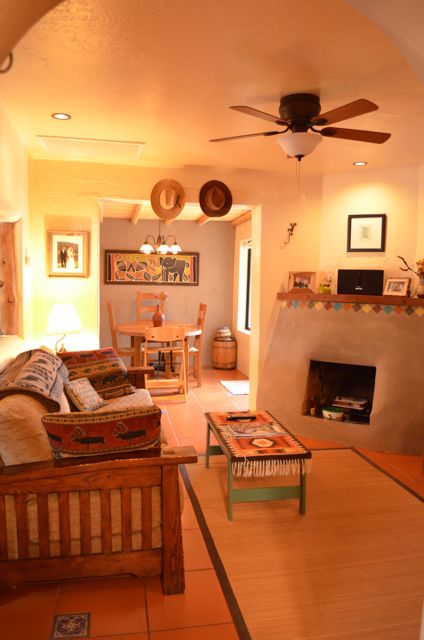
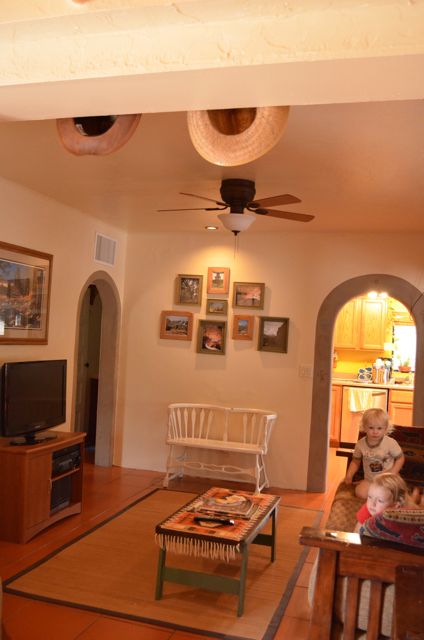
And now for the “after” photos! With everything re-plumbed, re-wired, repaired, patched, painted and put back together, in the coolness of our air-conditioning and rockin’ out with our new sweet-sounding stereo, here’s what it looks like!!!
DONE!
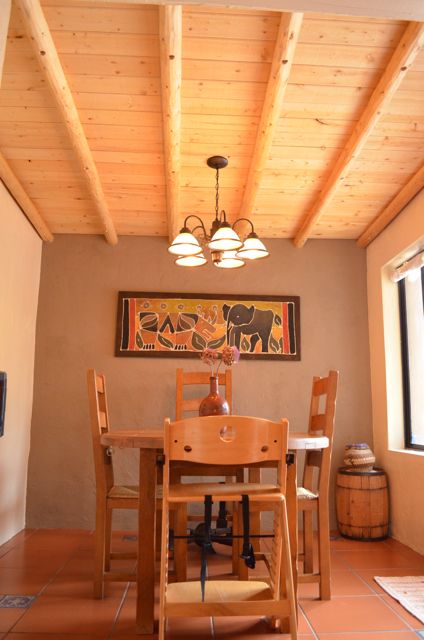
The dining room: new wiring, new ceiling, new light with wall-switch, re-located outlets.
The living room: new wiring, installed eyeball lights, new ceiling fan with wall-switch, re-located outlets


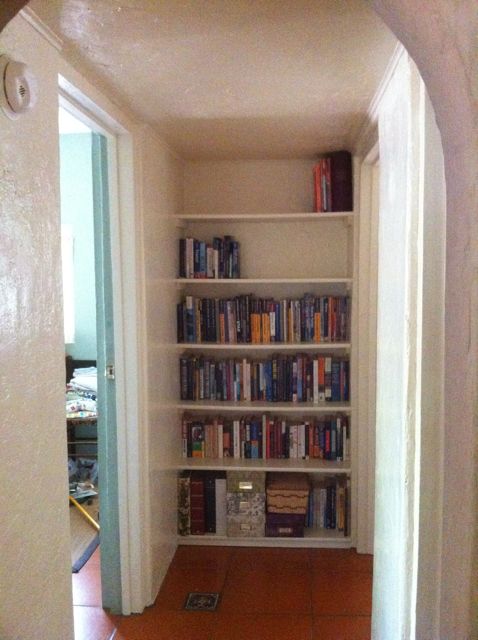
The hallway: legit sheetmetal AC/heater ductwork above ceiling
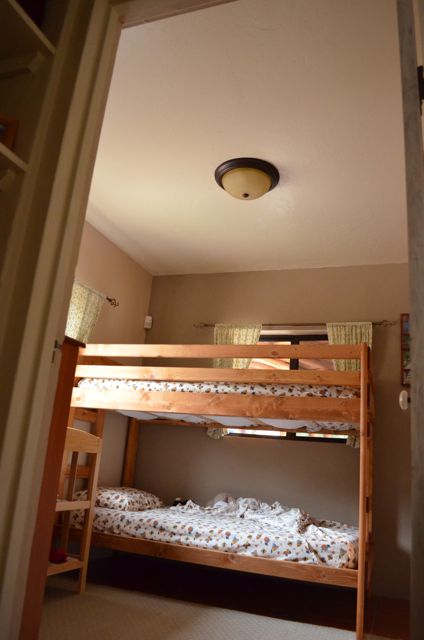
Kid’s room: new bunkbeds, new ceiling light

Aaaahhh, a finished house.
Now let’s get back to life!
posted by arr
This entry (Permalink) was posted
on Wednesday, September 10th, 2014 at 8:40 pm and is filed under Our Adobe.
You can follow any responses to this entry through the RSS 2.0 feed.
You can leave a response
feed.
You can leave a response , or trackback
 from your own site.
Leave a Reply